How to Test Your Garden Soil’s pH Level in 4 Simple Steps

- Working Time: 20 minutes
- Skill Level: Kid-friendly
A soil test has been noted by successful gardeners to be the most efficient and money-saving step toward better gardening. A soil test indicates your soil's pH level (relative acidity or alkalinity), which affects how well plants take up nutrients and thrive. Soil pH ranges from 1.0 (highly acidic) to 14.0 (highly alkaline), with 7 being neutral. In rainy regions, soil is typically more acidic; in desert areas, soil is more alkaline. Soil in these areas often needs to be amended to allow a wider variety of plants to thrive.
To raise too-low pH (acidic): Add garden lime, dolomite limestone, or wood ashes.
To lower too-high pH (alkaline): Add horticultural sulfur, composted oak leaves, or pine needles.
What You'll Need
Equipment / Tools
- Trowel
- Flat container
- Quart jar
Materials
- Spoon
- Soil test kit
- Distilled water
Instructions
-
Collect Soil
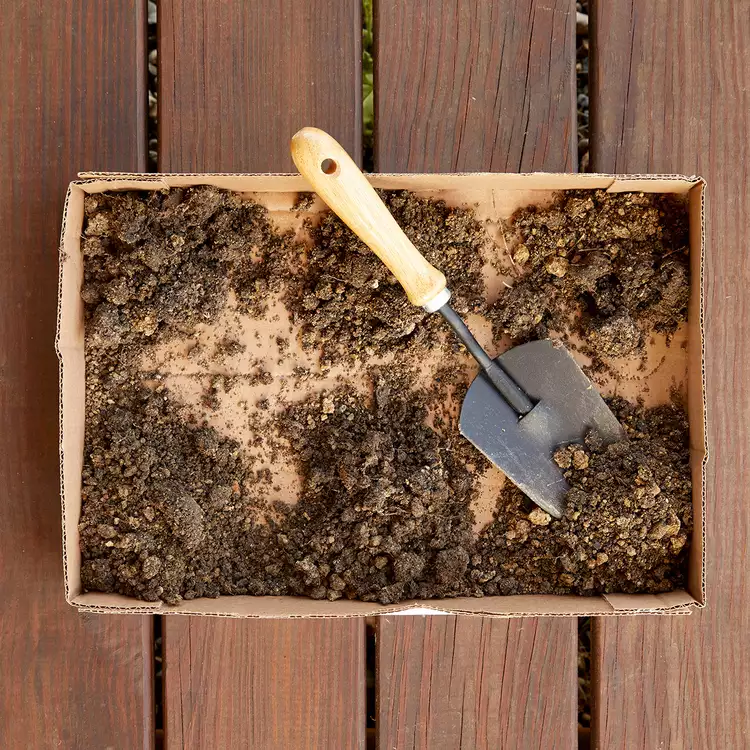
To begin, collect soil from six different areas around your garden, using a trowel ($10, Target). In each area, dig 6 inches deep to remove your samples of soil, ensuring that you're not collecting any roots, mulch, or stones. You'll only need about a teaspoon of soil from each area.
Related: What You Need to Know About Using Topsoil to Make Your Garden Thrive
-
Mix Samples
To get an average soil sample of a large area, mix a little bit from each pile of soil in a quart jar ($4, Michaels) or other clean, similar-size container. Be sure to break up any large clumps using a trowel.
Test Garden Tip: Try not to touch the soil samples with your bare hands. The oils from your fingers can disrupt the pH balance in the soil, thereby affecting the outcome of your soil test.
-
Combine Soil and Testing Powder
Use a spoon to scoop your soil sample into the vial of the soil test kit. You'll only need a small amount of soil—just enough to fill up to the indicated line. Take one of the capsules from the soil test kit and carefully open it. Empty the powder into the soil test vial.
-
Add Water
Next, add water to your soil sample vial with the plastic eyedropper that came in your kit. Use distilled water to test your soil; water with additives can alter the results of your soil test. Fill the soil test vial with water until you reach the dotted line. Put the lid on the test kit vial and shake vigorously so that the soil, the testing powder, and the water are all mixed together.
To evaluate results, let your shaken vial sit for 1 to 2 minutes, allowing the liquid to settle and take on a color. The color of your liquid will determine what pH level your soil is at (see your soil test kit's guide). For best judgment of color, hold your vial up to the sun.