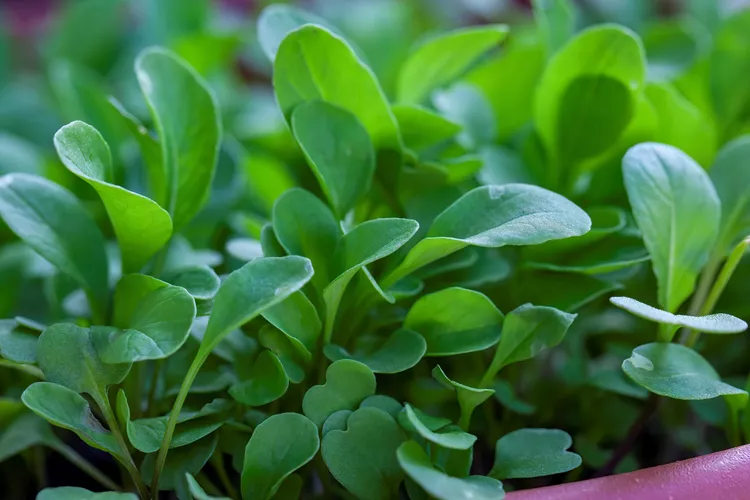
How to Plant and Grow Watercress

Watercress (Nasturtium officinale) is famous for its peppery taste and rapid growth. This perennial plant grows in damp locations and can be started in the home garden from seeds, divisions, or cuttings. It's a cut-and-come-again plant providing repeated servings of greens for salads, sandwiches, and soups.
Perhaps the easiest way to grow watercress at home is not in the ground but in pots. While a suitable wet location safe from rabbits and deer may be challenging to create in the yard, watercress is relatively easy to grow as microgreens or as full-sized indoor plants for cut and come again harvest year-round. You need only a few pots, clean water, a nutrient solution, and light.
Note: Watercress is toxic to dogs, cats, and horses.
Watercress Overview
| Genus Name | Nasturtium officinale |
| Common Name | Watercress |
| Additional Common Names | Water Cress |
| Plant Type | Herb, Perennial |
| Light | Part Sun, Sun |
| Height | 4 to 18 inches |
| Width | 4 to 8 inches |
| Flower Color | White |
| Foliage Color | Blue/Green |
| Zones | 5, 6, 7, 8, 9 |
| Propagation | Division, Seed, Stem Cuttings |
Where to Plant Watercress
In nature, watercress is a semi-aquatic plant growing in wet soil along cold, clear waters of flowing streams. It also grows along pond edges and ditches in gravelly soil.
If you grow watercress outdoors, be careful not to introduce it to nearby ponds or waterways. The U.S. Forest Service lists watercress as invasive and noxious in 46 states.
Whether growing outdoors in the garden or indoors, you need to recreate a wet habitat with moist growing medium and plenty of clean, cool water.
A small hydroponic system is best when growing watercress indoors, but the setup can be as simple as a plastic salad box (like spinach or lettuce is sold in), a tub for the plastic box to sit in, a few hydroponic rocks purchased online, and some light. A small growing station with supplemental lighting on a timer provides all the light watercress needs.
How and When to Plant Watercress
Watercress can be started from seed and grown as microgreens or salad greens or planted outdoors for tasty, attractive foliage. Rockwool makes starting seeds easier, and the entire plug can be potted up or planted in a bed.
Sow seeds on the surface and lightly cover them with seed-starting mix or push them about a ¼ inch deep. The seeds are tiny but can be picked up individually by moistening the end of a toothpick and then touching the toothpick to the seed. Then, wipe the seed off the toothpick and onto the seed-starting medium.
Start seeds anytime for indoor growing or three to four weeks before your last spring frost for transplanting outdoors later.
Watercress Care Tips
Watercress is easy to grow, with the only difficulty being providing adequate water when it is growing outdoors. Simulate its natural environment, and it will grow rapidly and well.
Light
Watercress does best and grows fastest in full sun but will also grow well in partial sun. Avoid areas of heavy shade. This is a cool-season plant, so choose a location with morning sun and afternoon shade in the heat of summer.
Soil and Water
Rich, organic soil is best when growing watercress in pots or a garden bed outdoors. Watercress tolerates a range of pH levels but prefers water and soil that are slightly alkaline. Watercress grows in and around water in nature and needs to be kept in wet conditions. Keep the soil or medium damp, if not wet.
For microgreens, water from the bottom and don't allow the medium to dry.
Temperature and Humidity
High humidity is best. If your location experiences excessively dry air, you may need to cultivate watercress indoors. When growing watercress as a microgreen, keep the temperature at about 65°F to 75°F. Outdoors, mature watercress does fine in temperatures above freezing.
Fertilizer
Watercress grown outdoors to maturity in rich, organic soil does not require fertilizer. Fertilize watercress grown indoors with a hydroponic nutrient solution, following the instructions on the label.
Pests and Problems
Watercress doesn't suffer from many disease issues. Common pests like snails, rabbits, and munching caterpillars can be problems outdoors. For indoor watercress, algae buildup due to nutrients in the water solution (fertilizing) can be problematic and may require cleaning the pots and media every few months.
How to Propagate Watercress
Seed: Start watercress from seed by preparing a moist substrate indoors or in a garden bed. Scatter the seeds and lightly cover them. The seeds are tiny, so don't bury them more than a ¼ inch deep. Keep the starting mix moist (but not drowning).
Division: Watercress can be easily divided and replanted. To do so, tease the stems apart and separate a section of roots and vegetation. Transfer the division to a new pot or location and provide water.
Cutting: Take a cutting from an actively growing plant. A 6-inch cutting works well. Use clean, chlorine-free water. If your municipality treats your water, set it on the counter for 24 hours to let the chlorine dissipate. The stem will start to root in about a week.
Harvesting Tips for Watercress
Watercress flavor is best when you harvest it before the plant blooms. For mature plants, cut back the stems, leaving about 4 inches remaining to begin new growth. For microgreens, harvest watercress at the desired size, usually 1 to 2 inches tall, with a knife or scissors.
Both the stems and leaves are edible, but thicker stems can be tough. Harvest watercress frequently to keep the new growth tender.