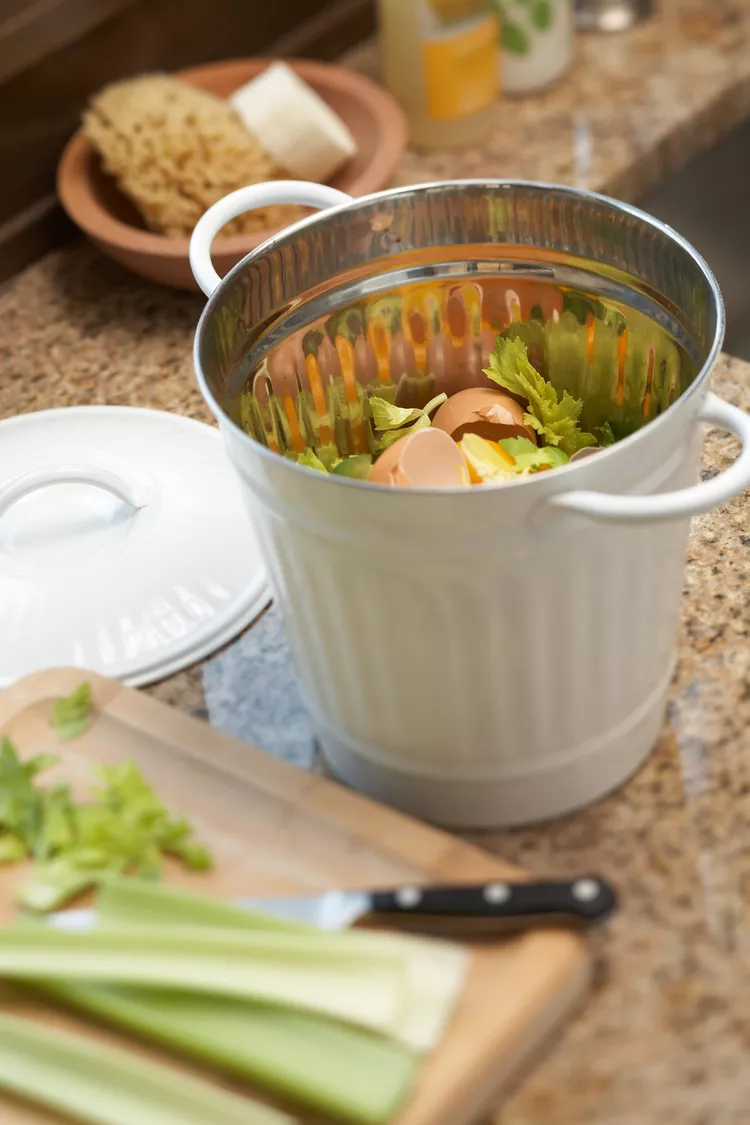
How to Make a DIY Indoor Compost Bin

- Working Time: 30 minutes
- Total Time: 30 minutes
- Skill Level: Beginner
- Estimated Cost: $20
Composting kitchen scraps is a simple way to help the environment without doing much work. Make this DIY indoor compost bin to store under the sink or on the counter for easy access in the kitchen, and indoor composting will quickly become part of your daily routine. We used a basic plastic container to make our indoor compost bin, but you can find ones in materials like stainless steel or bamboo if you want the bin to fit in with your decor. Make sure the container you choose has a tight lid and air holes for ventilation.
Follow these steps to create your DIY indoor compost bin and start composting. You'll rethink the way you toss your kitchen scraps.
What You'll Need
Equipment / Tools
- Container with lid
- Drill
- Hot glue gun
Materials
- Nylon mesh screen
- Dirt
- Kitchen scraps
- Shredded newspapers
Instructions
How to Make a DIY Indoor Compost Bin
-
Drill Holes in Container Lid
Drill five evenly spaced holes in the lid of the container for ventilation. Air is a necessary component to help the materials in your bin break down, and these holes will help regulate airflow.
-
Add Screen
Cut a piece of nylon screen big enough to cover all the air holes of your DIY indoor compost bin. Hot glue the screen to the underside of the container lid. Adding this will keep fruit flies and other bugs from getting in or out of the compost bin.
-
Fill with Scraps
Knowing what to put in a DIY indoor compost bin and what to avoid putting in will make your composting experience far more successful. Start with dirt on the bottom and some shredded newspaper on top. Then, add kitchen scraps like banana peels, coffee grounds, and eggshells every day as you cook or clean out your fridge. It's best to break or cut these scraps into small pieces to help them decompose faster.
-
Stir the Compost
Stir the compost about once a week to aerate the mixture. Be sure to keep the lid on tightly to avoid attracting unwanted pests. When the compost is ready, add it to your outdoor compost pile or search for compost drop-off locations near you.
What Does Finished Compost Look Like?
You'll know when the compost is done; it will be dark, crumbly, and have an earthy smell. You also won't be able to identify any of the waste material you added. If anything stubbornly lags behind the other material in the bin, pick it out and include it in the next round of waste.
Solutions to Compost Problems
Smell: If you're concerned about odors from a DIY indoor compost bin, don't fret—the smell can be controlled easier than you think. Add dry leaves or newspaper to your pile if your bin starts stinking. This will balance the wet-dry content ratio, controlling any acidic odors.
Rodents and Pests: The first step to keeping away rodents and pests is your choice of compost container. A solid-side bin with a lid will keep unwanted critters out.
Slow Decomposition: Make sure you stir your pile with a hand trowel or shovel at least once a week to aerate oxygen into the mixture. Keeping content small (such as cut-up banana peels) will also speed up the breaking-down process.
Avoid adding fats, meats, and dairy products to your DIY indoor compost bin, as these can produce a foul odor and attract unwanted pests or rodents.